Copyright © 2021 Social-ability. All Rights Reserved.

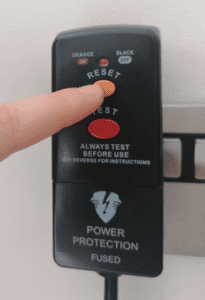
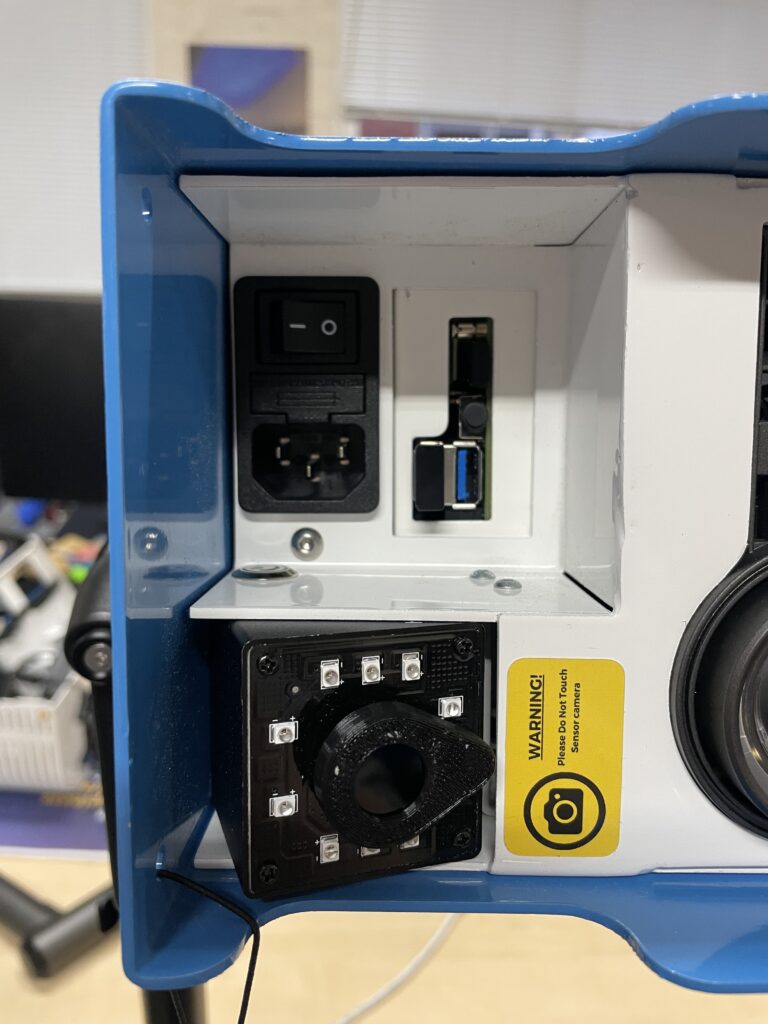
If you do not have this plug version, you will have a switch on the underside of the projector, so please use this to turn the unit on and off

To resize the projection on your interactive light projector you will need to go into settings. Here you will find ‘resize projection’ where you will be able to adjust the corners by using the arrow keys on your remote. 
To move to the next corner, press the OK button on your remote. When you are happy with your size, press the back or home button which will save this for you.  If your projection is still too small or too large despite being on the maximum or minimum setting, you can now try moving the unit up and down the pole. Please see the manual for specific instructions on physically adjusting the height of the projector based on your colour stand.
The further away the unit is from the surface, the larger the size of the projection will be, and the closer the unit is to the surface, the smaller the size of the projection will be.
We always recommend resizing via the menu before moving the unit on the pole.
Do not make any adjustments to the underside of the projector itself.
You can adjust the tilt of the projector to project onto walls and ceilings – refer to the manual for specific instructions based on your stand colour.
You can also press the 90-degree flip button (three-lines button on your remote control) to rotate the screen by 90 degrees.
The video to the right shows how the projection image should look.
If you notice your projector is not this clear, or is not picking up the movement of your hands accurately, you should follow the calibration steps in the manual, or get in touch with us for more help.
You can connect your projector to WiFi by following the instructions here.
You don’t need a WiFi connection whilst playing existing games, but you will need to connect to WiFi to run updates, get new games or to play content through YouTube.
For everything else please see your manual!

Copyright © 2021 Social-ability. All Rights Reserved.